Shingle Roofing – Plenty of Options to Explore
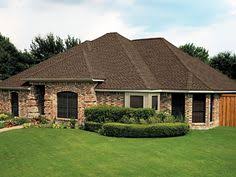
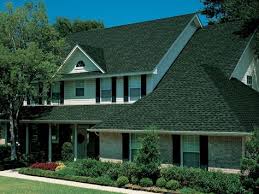
Shingle roofing is pretty widespread and is recommended by architects and roof contractors to households who would like to make a long term investment in a roof. The popularity of shingles is also because of the fact that this roofing option has many designs and patterns in it that a homeowner can pick and Roofing Types choose from. The variety within shingles is amazing something that cannot be found in other style options. Shingles can be used for new construction projects as well as for remodeling projects. It is this flexibility that this option offers that has made it the obvious choice among several home owners.
While making a choice of shingles, you have to base your decision on several factors. As a roof is exposed to the extremities of the weather, you should take care that the material you choose to install should be strong enough to resist the abrupt changes in the weather. For instance when you use slate for shingles you can be assured that heavy snow or heavy winds will not affect the strength of the roof. This is because when shingles in slate is installed the support underneath is made strong to hold the shingles. This may take more time while installation but this will also make the roof durable and long lasting. Shingle roofing in slate is also fire resistant. This is a natural roofing option and therefore is slightly cheaper than other options.
Shingles in fiberglass and asphalt are pretty new trends and they are fast catching up. Many offices and commercial complexes are equipped with shingle in fiberglass. When laid in the form of a composition these shingles tend to last long. Composition shingle also works out to be very cheap. Regardless of the type of material you think will best suit your needs, you should always take the professional assistance of a roofing Cheap Roof Ideas contractor before you get shingles installed for your roof. Consulting a roofing contractor is very important because there are some technical details about a roof that you may be unaware of. Once the installation is done it is very hard to reverse the whole process. Therefore to be safe than sorry it is always advisable to take the help of a service provider who will guide you correctly while getting shingles installed.
How Many Layers of Shingles Are Allowed on a Roof?
Benefits of Adding Multiple Shingle Layers
Most building codes allow up to two layers of organic or fiberglass asphalt shingles. That limit pertains to roofs with up to a 4:12 pitch. When it’s time to replace your roof, there are several factors that might lead your roofing professional to recommend adding shingles on top of your existing layers. One of these major factors is cost savings. Think of it this way: By leaving the existing layer of shingles on your roof, you’ll save on both labor costs and disposal costs. Both of those costs can get high if you’re dealing with multiple types of roofing material for disposal. That adds up to an average savings of about $1,000 less than a full roof tear-off.
Am I a Good Candidate for Re-Roofing?
There are some situations that require a full roof tear-off. As mentioned above, homeowners are legally limited to two layer of roof shingles. Therefore, if you already have two layers, you’ll need a full tear-off. Additionally, if your roof is severely damaged, it likely won’t be able to support the weight of a reroof and will need to be torn off. Ultimately, it’s best to work with a roofing professional to determine if your roof is eligible for re-roofing. If so, you’ll likely save quite a bit of money by leaving your existing roofing system in place beneath a new layer of shingles.
When to Consider Re-Roofing
Roof maintenance is a major part of any homeowner’s responsibility. Although roof maintenance tasks are typically minor and fairly quick, it’s crucial to stay on top of repairs so you don’t get saddled with costly, time-intensive repairs down the line. If you notice any of the following issues, reach out to your roofing professional to schedule a quick repair or a major remodel:
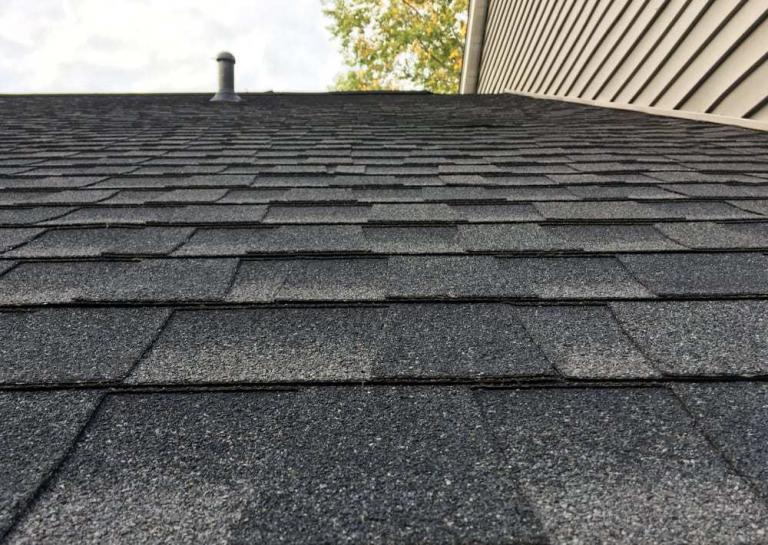
- Buckling, curling, or blistering shingles
- Missing granules on shingles
- Missing or broken shingles
- Damaged, ineffective gutters
- Missing or damaged chimney cap
- Leaks or excess moisture in the attic
- Cracked caulk or rust spots on the flashing
- Rubber flashing boots that are cracked or worn
So how many layers of shingles are allowed on a roof? The short answer: two. For a more thorough explanation, reach out to your roofing professional. Ultimately, it’s not recommended that homeowners complete roofing work on their own. Although this might seem like a way to save a few dollars, untrained homeowners can do serious harm to their roof – or themselves – by using incorrect or irresponsible roofing techniques.
What Are Some Suggestions To Properly Store Shingles?
- As a general rule, store shingles in a cool dry place… in stacks no more than four feet high. If higher stacking is necessary, it is recommended that racks or bins be used to prevent the weight of the bundles on the upper pallets from bearing down on the bundles below. Slip-sheets a minimum of 3/8” (9.5 mm) plywood are also acceptable. Never stack pallets more than two high.
- Systematically rotate all stock… so that the material that has been stored the longest will be the first to be moved out (i.e., first in, first out).
- Arrange the stock… so that there is ample space for forklifts and other handling equipment to operate without bumping into and damaging materials in the stacks.
- Do not store asphalt-roofing materials outdoors… for extended periods of time. If it must be done, place the materials on a raised platform or pallets so they are not in contact with the ground. In addition, cover the roofing materials with a light colored, vented plastic sheet or breathable plastic.
- Use tarpaulins to protect them from rain or snow. Ventilate the protective covering to allow air to circulate. Do not store the shingles in the hot sun.
Cutting Shingles with Shears
Long-handled tin snips are the perfect tool for easily cutting thick roofing shingles
The evolution of asphalt roofing shingles has been a slow and steady improvement in performance, durability, and looks. Original three-tab asphalt shingles had 10- or 20-year warranties, and that was about the lifespan you could expect. Today’s laminated roof shingles have 30-, 40-, and 50-year warranties. A few have lifetime warranties. To make shingles last longer, manufacturers made them thicker. That also made them better looking, hence the new terminology, “dimensional roofing shingles” and “architectural roofing shingles,” in use today.
In some ways, newer shingles are a bit more forgiving to work with than three tab shingles, which require precise layout. In other ways, they are more demanding. For example, three-tab asphalt shingles are tough to cut, but these new thicker shingles are even tougher. You could use a utility knife to cut asphalt shingles and dull the blade or bloody your knuckles
Roofing Tool Basics
Check out information on the benefits of these basic roofing tools and how to use them.
Safety first — Always use a safety harness, rope an anchor point when working on the roof.
The basic tools used in roofing are: a utility knife, a tape measure, a hammer, and a chalk line.
- A utility knife is used for cutting roofing material. A specialized roofer’s utility knife has a knob that turns to open the tool — eliminating the use of a screwdriver to open and close the tool. The blade — held in place with a magnet — is hooked for cutting shingles and felt more easily.
- Hold a roofing nail with your palm facing up to get it started, rather than with your thumb and forefinger. This technique results in lessened injury if your hand is hit.
- A plastic cap nail has a plastic sheath around it to hold the felt better. It has a broader surface than a regular roofing nail and the flexibility of the sheath makes it less likely that wind will pull up the felt. A pneumatic nail gun allows the nail and cap to be driven into the roof more quickly and with less manpower.
- After nailing in the felt, make chalk lines as a reference to keep the rows of shingles straight. Lines should be six inches apart. Nail in the first row of shingles upside down. The first row should hang over the edge of the roof about 1-1/2 inch so that water will drip down the roof into the gutter.
- Nail another row of shingles on top of the first row. This will be the first exposed course of shingles. The tabs of each course should be six inches off-center from one another. When that course is done, continue to nail the next course with a six-inch offset.
- Shingles have a line of sticky material that makes them monolithic; they become like one piece so the wind can’t blow them off the roof.
- Metal roofing is becoming popular, but a main drawback is that it is difficult to get into position to work on the roof. Suction cups solve this problem. Set the suction cup down on a flat surface and pump it up for a foothold to help you work safely.